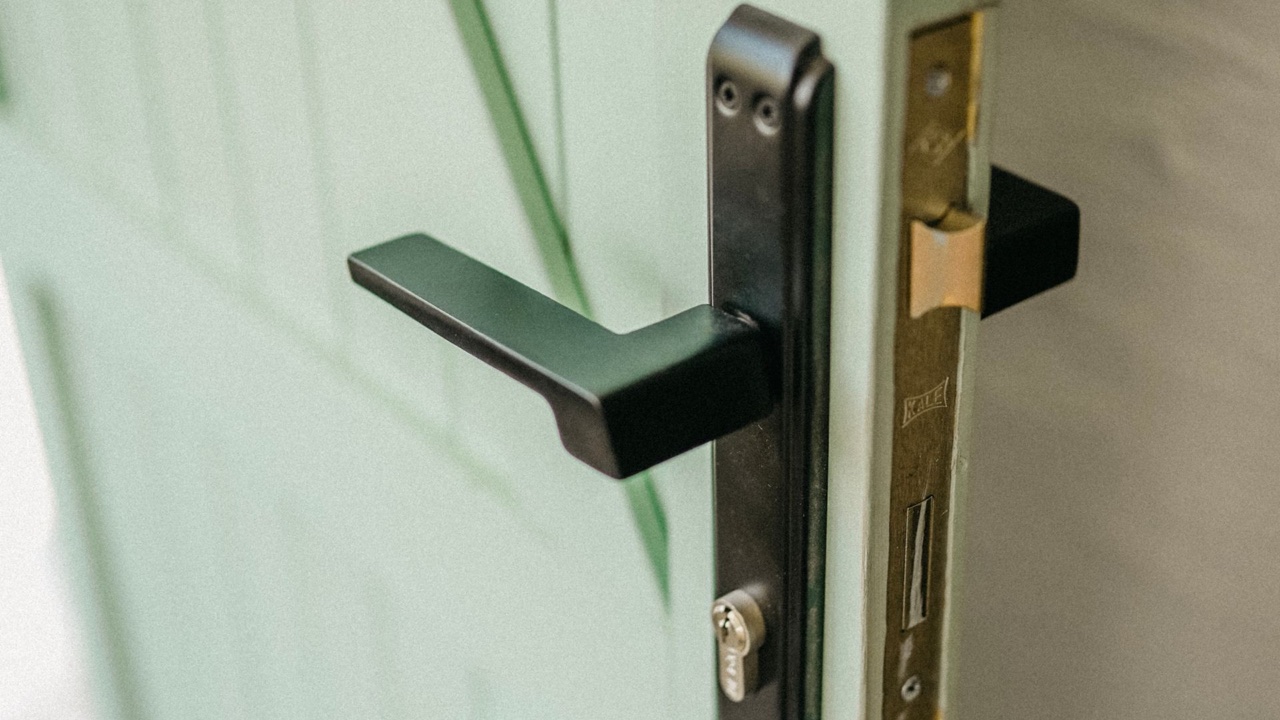
A uPVC door that drags on the frame, catches at the latch, or leaves an uneven gap around the perimeter has usually dropped. The drop is gradual enough that most homeowners don’t notice it happening — the door just becomes incrementally harder to close until one day it takes a deliberate lift on the handle to get the latch to engage. At that point the door looks like it might need replacing. In most cases it doesn’t. What it needs is hinge adjustment, and understanding why the drop happened in the first place makes the adjustment more than a temporary fix.
Why uPVC Doors Drop
uPVC door frames and sashes expand and contract with temperature, but the movement is mostly handled by the material’s flexibility. The real source of drop over time is the hinges, not the door itself.
uPVC doors are heavier than they look. A full double-glazed uPVC door — with the glazed unit, the reinforced frame, and the hardware — typically weighs between 40 and 80 kilograms depending on the size. That weight is suspended from three hinges, and the load those hinges carry is not evenly distributed. The top hinge takes the most load because it’s resisting the rotational moment created by the door’s weight acting at a distance from the hinge line. Over years of use — thousands of open and close cycles, each one with the full door weight acting on the hinge — the screw fixings that hold the hinges to the frame can work loose, the hinge leaves can develop slight distortion, and the door progressively sags toward the latch side.
Settlement in the door frame is the other contributor. New construction settles, older properties shift with ground movement, and timber subframes embedded in uPVC installations can shrink as they dry out. Any of these can move the hinge positions relative to each other, which changes how the door sits in the frame even if the hinges themselves are in perfect condition.
What the Three Adjustment Axes Actually Control
Modern uPVC door hinges — most commonly flag-style hinges — have three axes of adjustment. Understanding what each one does makes the adjustment sequence logical rather than trial-and-error.
The lateral adjustment moves the door toward or away from the hinge side of the frame. Turning this adjustment on all three hinges in the same direction shifts the whole door across the opening. This controls the gap on the hinge side and the gap on the latch side simultaneously. If the door is sitting too close to the hinge side — the gap there is tight while the latch side has too much clearance — lateral adjustment on all three hinges corrects it.
The vertical adjustment moves the door up or down within the frame. This is the one that addresses the drop. Turning the vertical adjustment screw on the bottom hinge typically raises or lowers the latch-side corner of the door; adjusting all three hinges together moves the whole door. A door that’s dropped and drags at the bottom of the latch side usually needs the bottom hinge raised, the middle hinge raised slightly less, and the top hinge left or adjusted minimally — a tapered correction rather than equal adjustment across all three.
The compression adjustment controls how tightly the door pulls against the weatherseal when it’s closed. This doesn’t affect the gap geometry visible when the door is open, but it determines whether the door closes firmly enough to compress the seal properly and whether it’s binding against the keep when the latch engages. Over-compression makes the door hard to close and can make the latch work against resistance rather than dropping cleanly into the keep.
The Sequence That Makes the Adjustment Stick
The reason hinge adjustments sometimes seem to not hold — the door needs readjusting a few months later — is usually that the adjustments were made in the wrong order or without addressing the underlying looseness in the fixings.
Start with the fixing screws. Before touching any adjustment, check that all six hinge leaves are firmly fixed to the door and frame. A hinge that’s held by two tight screws and one that’s worked loose to finger-tight is not a stable platform for adjustment. Tighten everything first, and if any screw holes are stripped — the screw turns but doesn’t bite — they need repairing with longer screws or timber inserts before the adjustment will be reliable.
With the fixings confirmed solid, adjust vertical position first. Get the door sitting at the right height so the gap at the top and bottom of the door is even. Then adjust lateral position to equalize the hinge-side and latch-side gaps. Check the door closes freely at this point — it should close without requiring a lift on the handle and without binding at any point in the swing. Only then adjust compression, and only enough to ensure the seal compresses correctly.
Making compression adjustment before getting the geometry right is a common mistake. A door that’s dropping can feel like it needs less compression because it’s binding at the bottom — adjusting compression without fixing the drop treats the symptom rather than the cause, and the door will continue to deteriorate.
When Adjustment Alone Isn’t Enough
If the hinges are adjusted correctly and the door still doesn’t close well, the problem is either in the keep alignment or in something the hinges can’t correct. A keep that’s positioned for the door’s original position won’t engage cleanly after the door has moved significantly. Adjusting the keep strike position after the door adjustment is the last step in a thorough correction.
Hinges that are physically bent, cracked, or have stripped adjustment mechanisms can’t be brought back into service by adjustment — they need replacement. A hinge that was manufactured to a low specification and has distorted under the door weight is also at the end of its serviceable life regardless of what the adjustment screws can do.
For the detailed steps covering how to access the adjustment points on different hinge types and what the correct gap dimensions should be at each stage, the uPVC door hinge adjustment guide walks through the process with the specific measurements and tool requirements. Following the sequence in the right order — fixings first, geometry second, compression last — produces a correction that holds rather than one that needs repeating every season.